Hello,
In this article, I want to tell you how you can issue a Let’s Encrypt SSL with the AWS Route53 service. Let’s start to learn.
What is Let’s Encrypt?
Let’s Encrypt is a non-profit certificate authority run by Internet Security Research Group (ISRG) that provides X.509 certificates for Transport Layer Security encryption at no charge. It means, you can get a FREE SSL certificate for your project/app and it the SSL certificate will be valid for 90 days. You need to make some automation to renew automatically.
What is AWS Route53?
Amazon Route 53 is a scalable and highly available Domain Name System service. Released on December 5, 2010, it is part of Amazon.com’s cloud computing platform, Amazon Web Services. You can register a new domain or transfer your existing domain or just use the DNS management system for your domain.
For this article, I’ll use one of my domain which is registered on Google Domains and I decided to just use the DNS management system. Just in case, the domain type should be a public hosted zone on Route53. My domain is “ermis.email” You can feel free to check NS records for my domain : )
Why I’m using Route 53 to issue a Let’s Encrypt SSL?
When you request a new SSL certificate from Let’s Encrypt, the certbot sends a request to the Let’s Encrypt servers and I don’t want to send and receive an HTTP (insecure) request out of AWS to get an encryption certificate : ) I’m thinking, it’s a little bit weird and may be made some security problems.
Otherwise, maybe you just need an SSL certificate and you don’t want to bind your SSL certificate directly to an nginx or apache or any kind of web server service. And also, it’s more convenient and fast and able to make some automation this way…
IAM Policy
I decided to use an AWS EC2 to issue an SSL directly in AWS and first of all, we need to create an IAM Policy for this operation to access Route53. My EC2 has an Elastic IP to make more secure the IAM Policy and restrict access to Route53 resources. You can’t use this policy as an IAM Role and I configure it for aws-cli operations with a specific profile name “certbot-route53“. Here is an example IAM Policy below;
{
    "Version": "2012-10-17",
    "Statement": [
        {
            "Sid": "CertbotRoute53",
            "Effect": "Allow",
            "Action": [
                "route53:GetChange",
                "route53:ListHostedZones"
            ],
            "Resource": "*",
            "Condition": {
                "IpAddress": {
                    "aws:SourceIp": "3.92.136.59/32"
                }
            }
        },
        {
            "Sid": "CertbotRoute531",
            "Effect": "Allow",
            "Action": "route53:ChangeResourceRecordSets",
            "Resource": "arn:aws:route53:::hostedzone/Z01859902ZBFBUXJ0AV3J",
            "Condition": {
                "IpAddress": {
                    "aws:SourceIp": "3.92.136.59/32"
                }
            }
        }
    ]
}
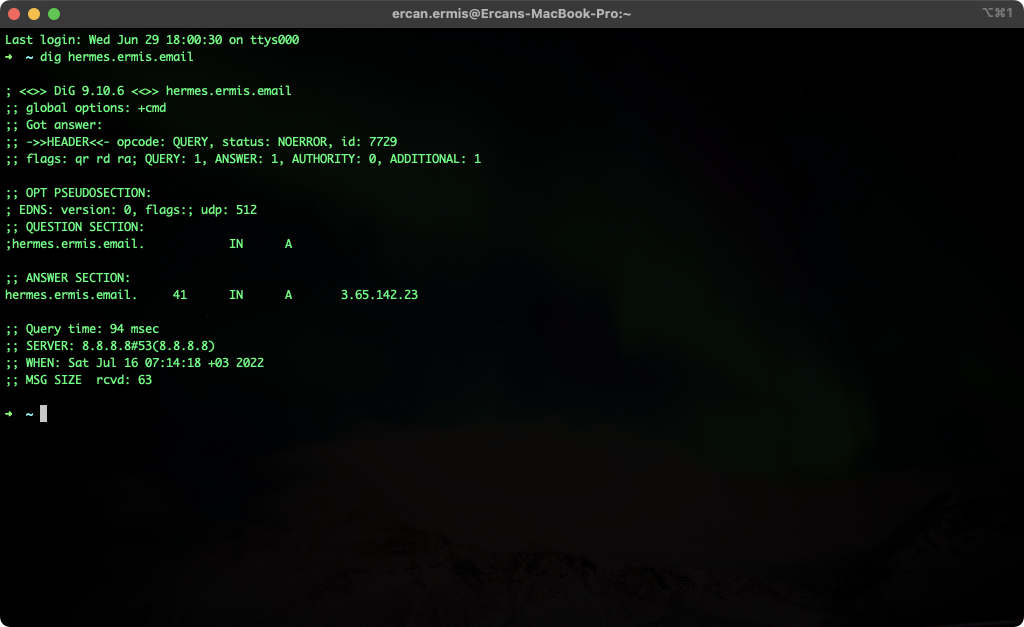
My mail server’s DNS name is “hermes.ermis.email” and A record is pointing to 3.65.142.23 with Simple Routing. I’ll request a Let’s Encrypt SSL for “hermes.ermis.email” My domain TLD is not com/net/org maybe looks different but it’s not a problem. It’s just domain and DNS : )

Requirements for EC2
If you are running on freshly launched with an official Amazon Linux 2 AMI you should install some prerequisites. First of all, we need to install an epel repository to install certbot and certbot-dns-route53 plugin. Let’s do it with a single line command!
[root@ip-172-31-89-11 ~]# amazon-linux-extras install -y epel && yum install -y certbot python2-certbot-dns-route53
Let’s Issue!
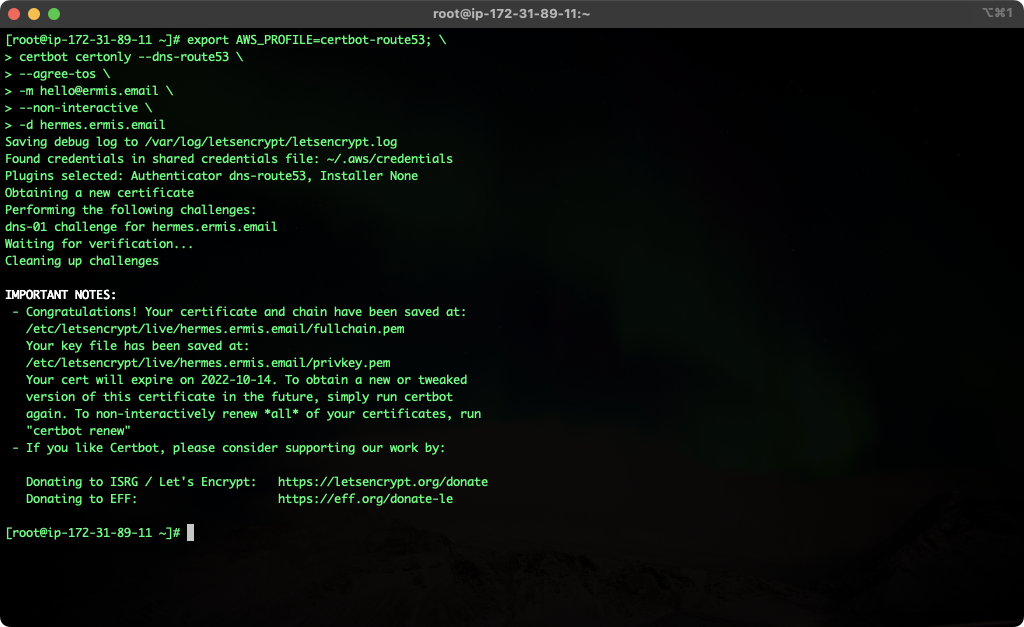
You can check my issuing command below.
[root@ip-172-31-89-11 ~]# export AWS_PROFILE=certbot-route53; \
> certbot certonly --dns-route53 \
> --agree-tos \
> -m [email protected] \
> --non-interactive \
> -d hermes.ermis.email
One Last Thing
Don’t forget to set a cron to check SSL need a renewal. You can also use the command into your cron.
00 00 * * * export AWS_PROFILE=certbot-route53; certbot renew -qThank you for reading my article, I hope you enjoyed with it!
