Security is always important and the first thing before doing something in the cloud. I’m using the IP restriction policy for more than 5 years and I want to share this trick with you. There are two different ways to do it.
You should get a Static IP from your ISP and/or also you can also want to use your VPN IP address.
What is the IP Policy benefit?
The answer is simple. Nobody can access your resources in the cloud if they are not using the specified IPs.
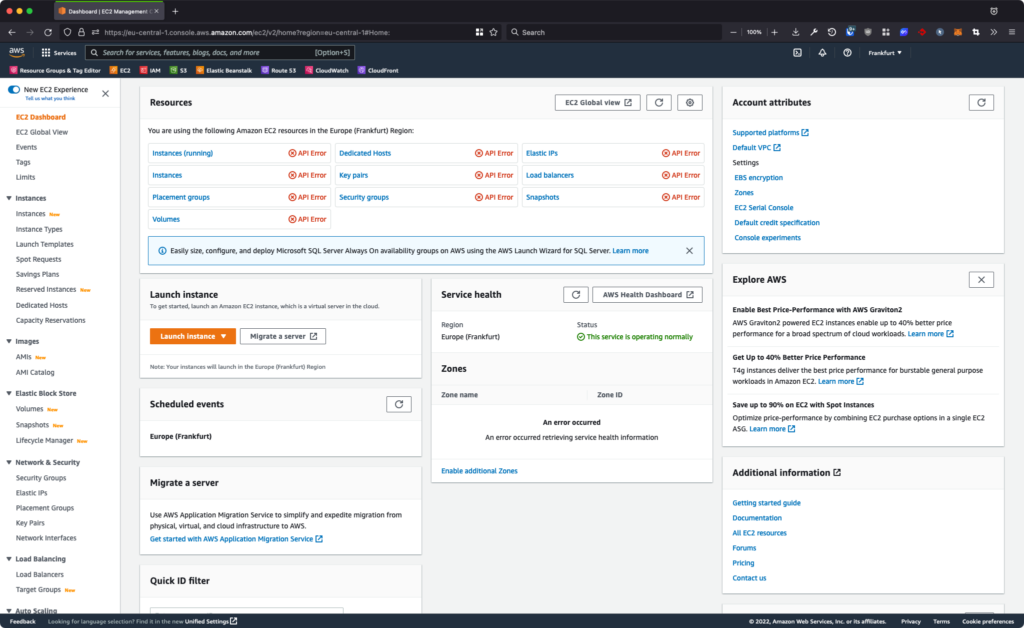
Here is the example if the user logged in without a specific IP address in the IAM Policy. The user can able login but can not see anything about resources and/or information.

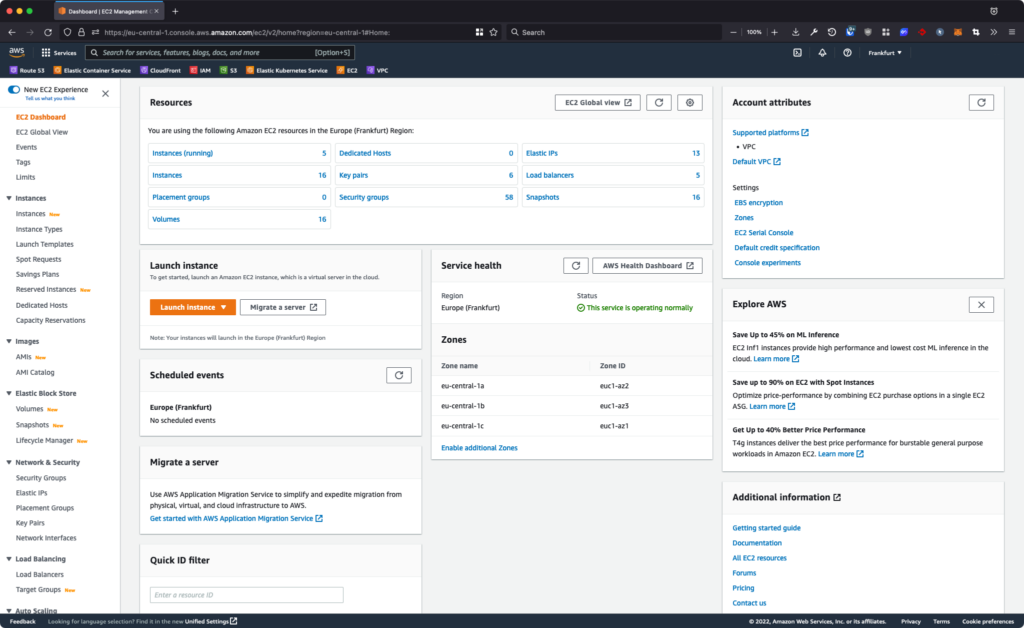
This is the example if the user logged in with a specific IP address. Yes, everything looks like okay and the user can see information about resources and other things.

Allow Access if your IPs Match
Here is the IAM IP Policy if you want to give permission to access to your resources.
{
    "Version": "2012-10-17",
    "Statement": [
        {
            "Sid": "AllowAccessIfIPsMatch",
            "Effect": "Allow",
            "Action": "*",
            "Resource": "*",
            "Condition": {
                "ForAnyValue:IpAddress": {
                    "aws:SourceIp": [
                        "1.2.3.4/32",
                        "5.6.7.8/32"
                    ]
                }
            }
        }
    ]
}
Deny Access if your IPs Don’t Match
{
    "Version": "2012-10-17",
    "Statement": [
        {
            "Sid": "DenyAccessIfIPsDontMatch",
            "Effect": "Deny",
            "Action": "*",
            "Resource": "*",
            "Condition": {
                "NotIpAddress": {
                    "aws:SourceIp": [
                        "1.2.3.4/32",
                        "5.6.7.8/32"
                    ]
                }
            }
        }
    ]
}
This IAM policy also affected aws-cli requests and all AWS API calls. The Allow or Deny policy is the same (vice versa!) and you do not have to use both at the same time. I just want to inform you there is more than one way to protect your AWS account.
NOTE: This IAM Policy is just telling you about the IP restriction logic. Please think twice to use this IAM policy on your account and on the production because it allows giving an AdministratorAccess to all of AWS Resources!
Maybe you want to check out my previous blog post about “How to secure your Amazon Web Services account” before applying the IAM IP Policy.
Thank you for reading!
